Keep your Outlook inbox squeaky clean by turning your emails into Todoist tasks that you can work on later. Learn how to set up, use, and remove the Todoist add-in from either the new or legacy Outlook app.
System requirements
To use the Outlook add-in, create an email account with any of the following supported Microsoft services:
- Outlook.com
- Live.com
- Hotmail.com
- Office 365 email accounts
- Cloud-enabled Microsoft Exchange accounts
If your email account isn’t hosted on any of these supported services, the integration won’t work. As an alternative to using this integration, you can forward incoming emails as tasks or comments to Todoist.
For Todoist for Outlook to work smoothly, check that your computer runs on one of the following operating systems:
- Windows: Outlook 2019 or later
- macOS: Outlook 2016 or later
If you’re using an older version of Outlook, open a web browser and log in to your Outlook account to use the add-in.
Set up the add-in on Outlook (new)
Warning
If you’re using a corporate Outlook account, check if your administration has enabled web add-ins. If add-ins are disabled or you're using a personal IMAP or POP3 email account, the integration won’t work.
- Log in to your Microsoft Outlook account.
- Open an email.
- Click the Apps icon at the top-right of the email. A pop-up will appear.
- Select Get add-ins at the bottom-right.
- Search for Todoist.
- Click Add to install the add-in.
- Click Continue.
After logging in successfully, Microsoft Outlook will prompt you to enter your login credentials every three months.
Set up the add-in on Outlook (classic)
-
Open Microsoft Outlook for macOS.
If this is the first time you’re setting up the integration, you’ll be asked to log in to your Microsoft account.
- Click All Apps at the top-right.
- Search for Todoist.
- Click Add to install the add-in.
- Click Continue.
Note
Todoist tasks created with the integration will contain a link back to the Outlook email. This link opens the Outlook web app where you can view the email. It’s not possible to open the email directly in the Outlook desktop apps.
Create a task with the Outlook add-in
There are two ways to create tasks with the Outlook add-in:
Add a task to your Inbox
- Open the email.
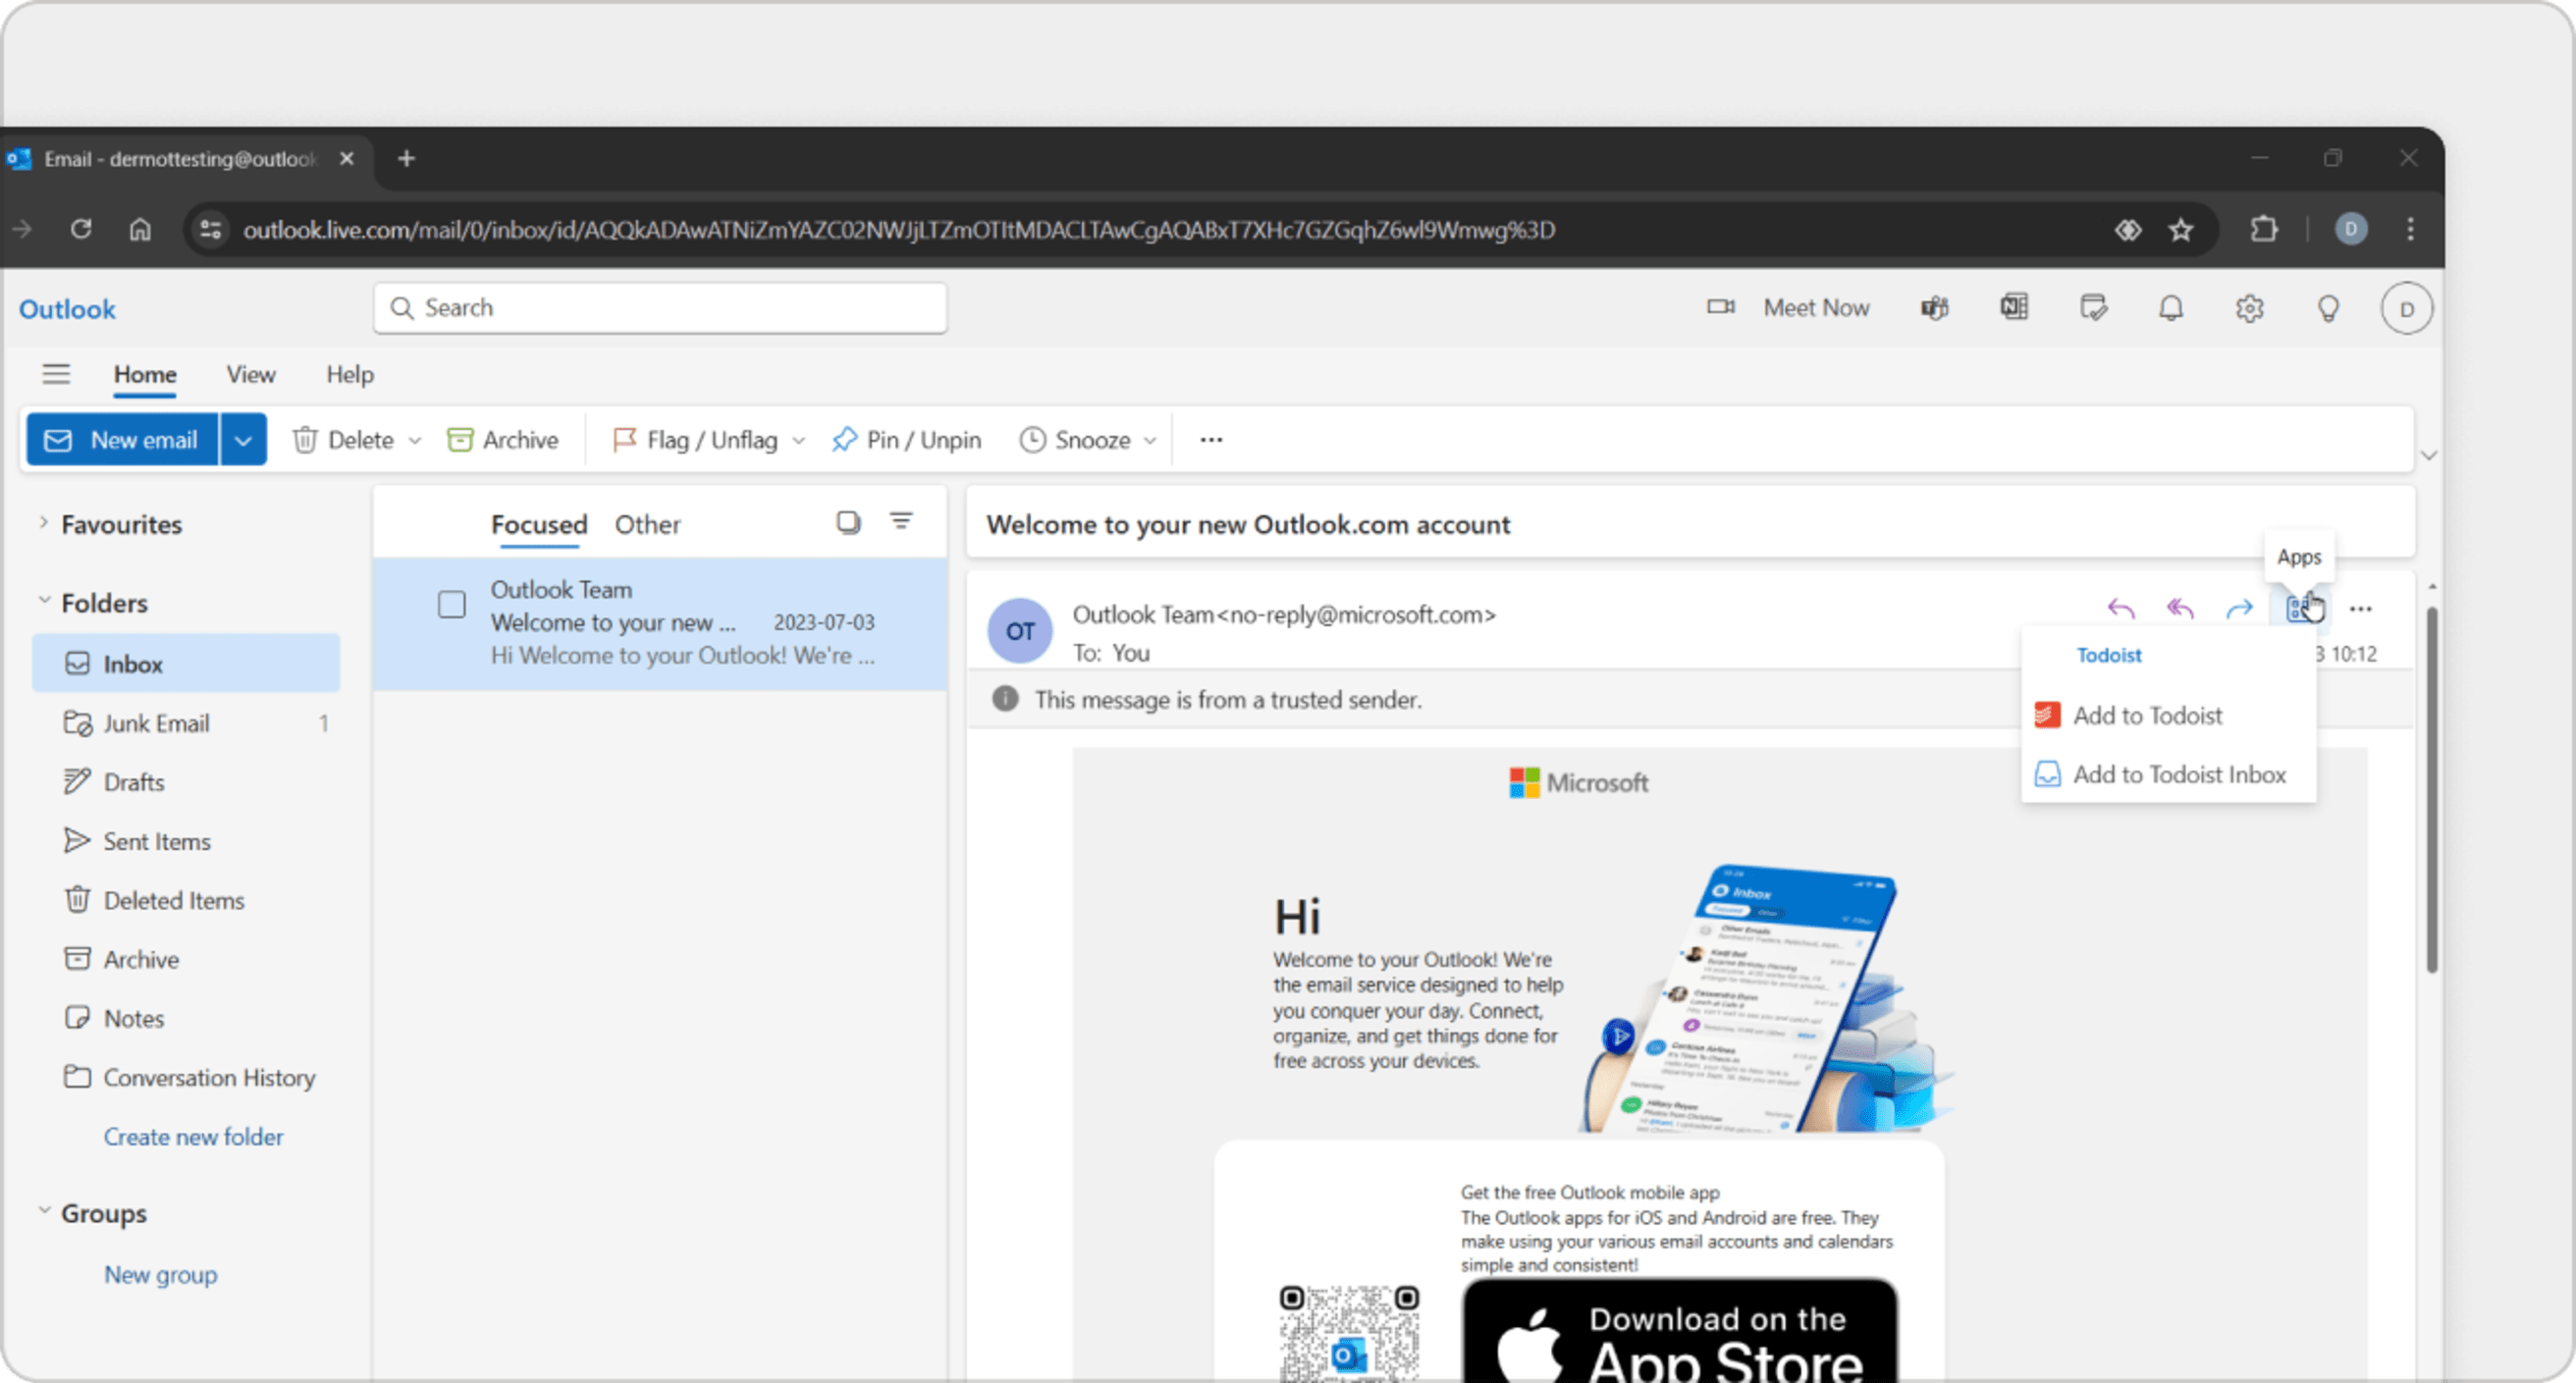
- Click Apps at the top-right of the email view.
- Click Add to Todoist Inbox. This adds the email as a task to your Inbox.
Add a task to any Todoist project
- Open the email.
- Click the three dots icon at the top-right of the email view.
- Scroll down to the Todoist icon.
- Click Add to Todoist.
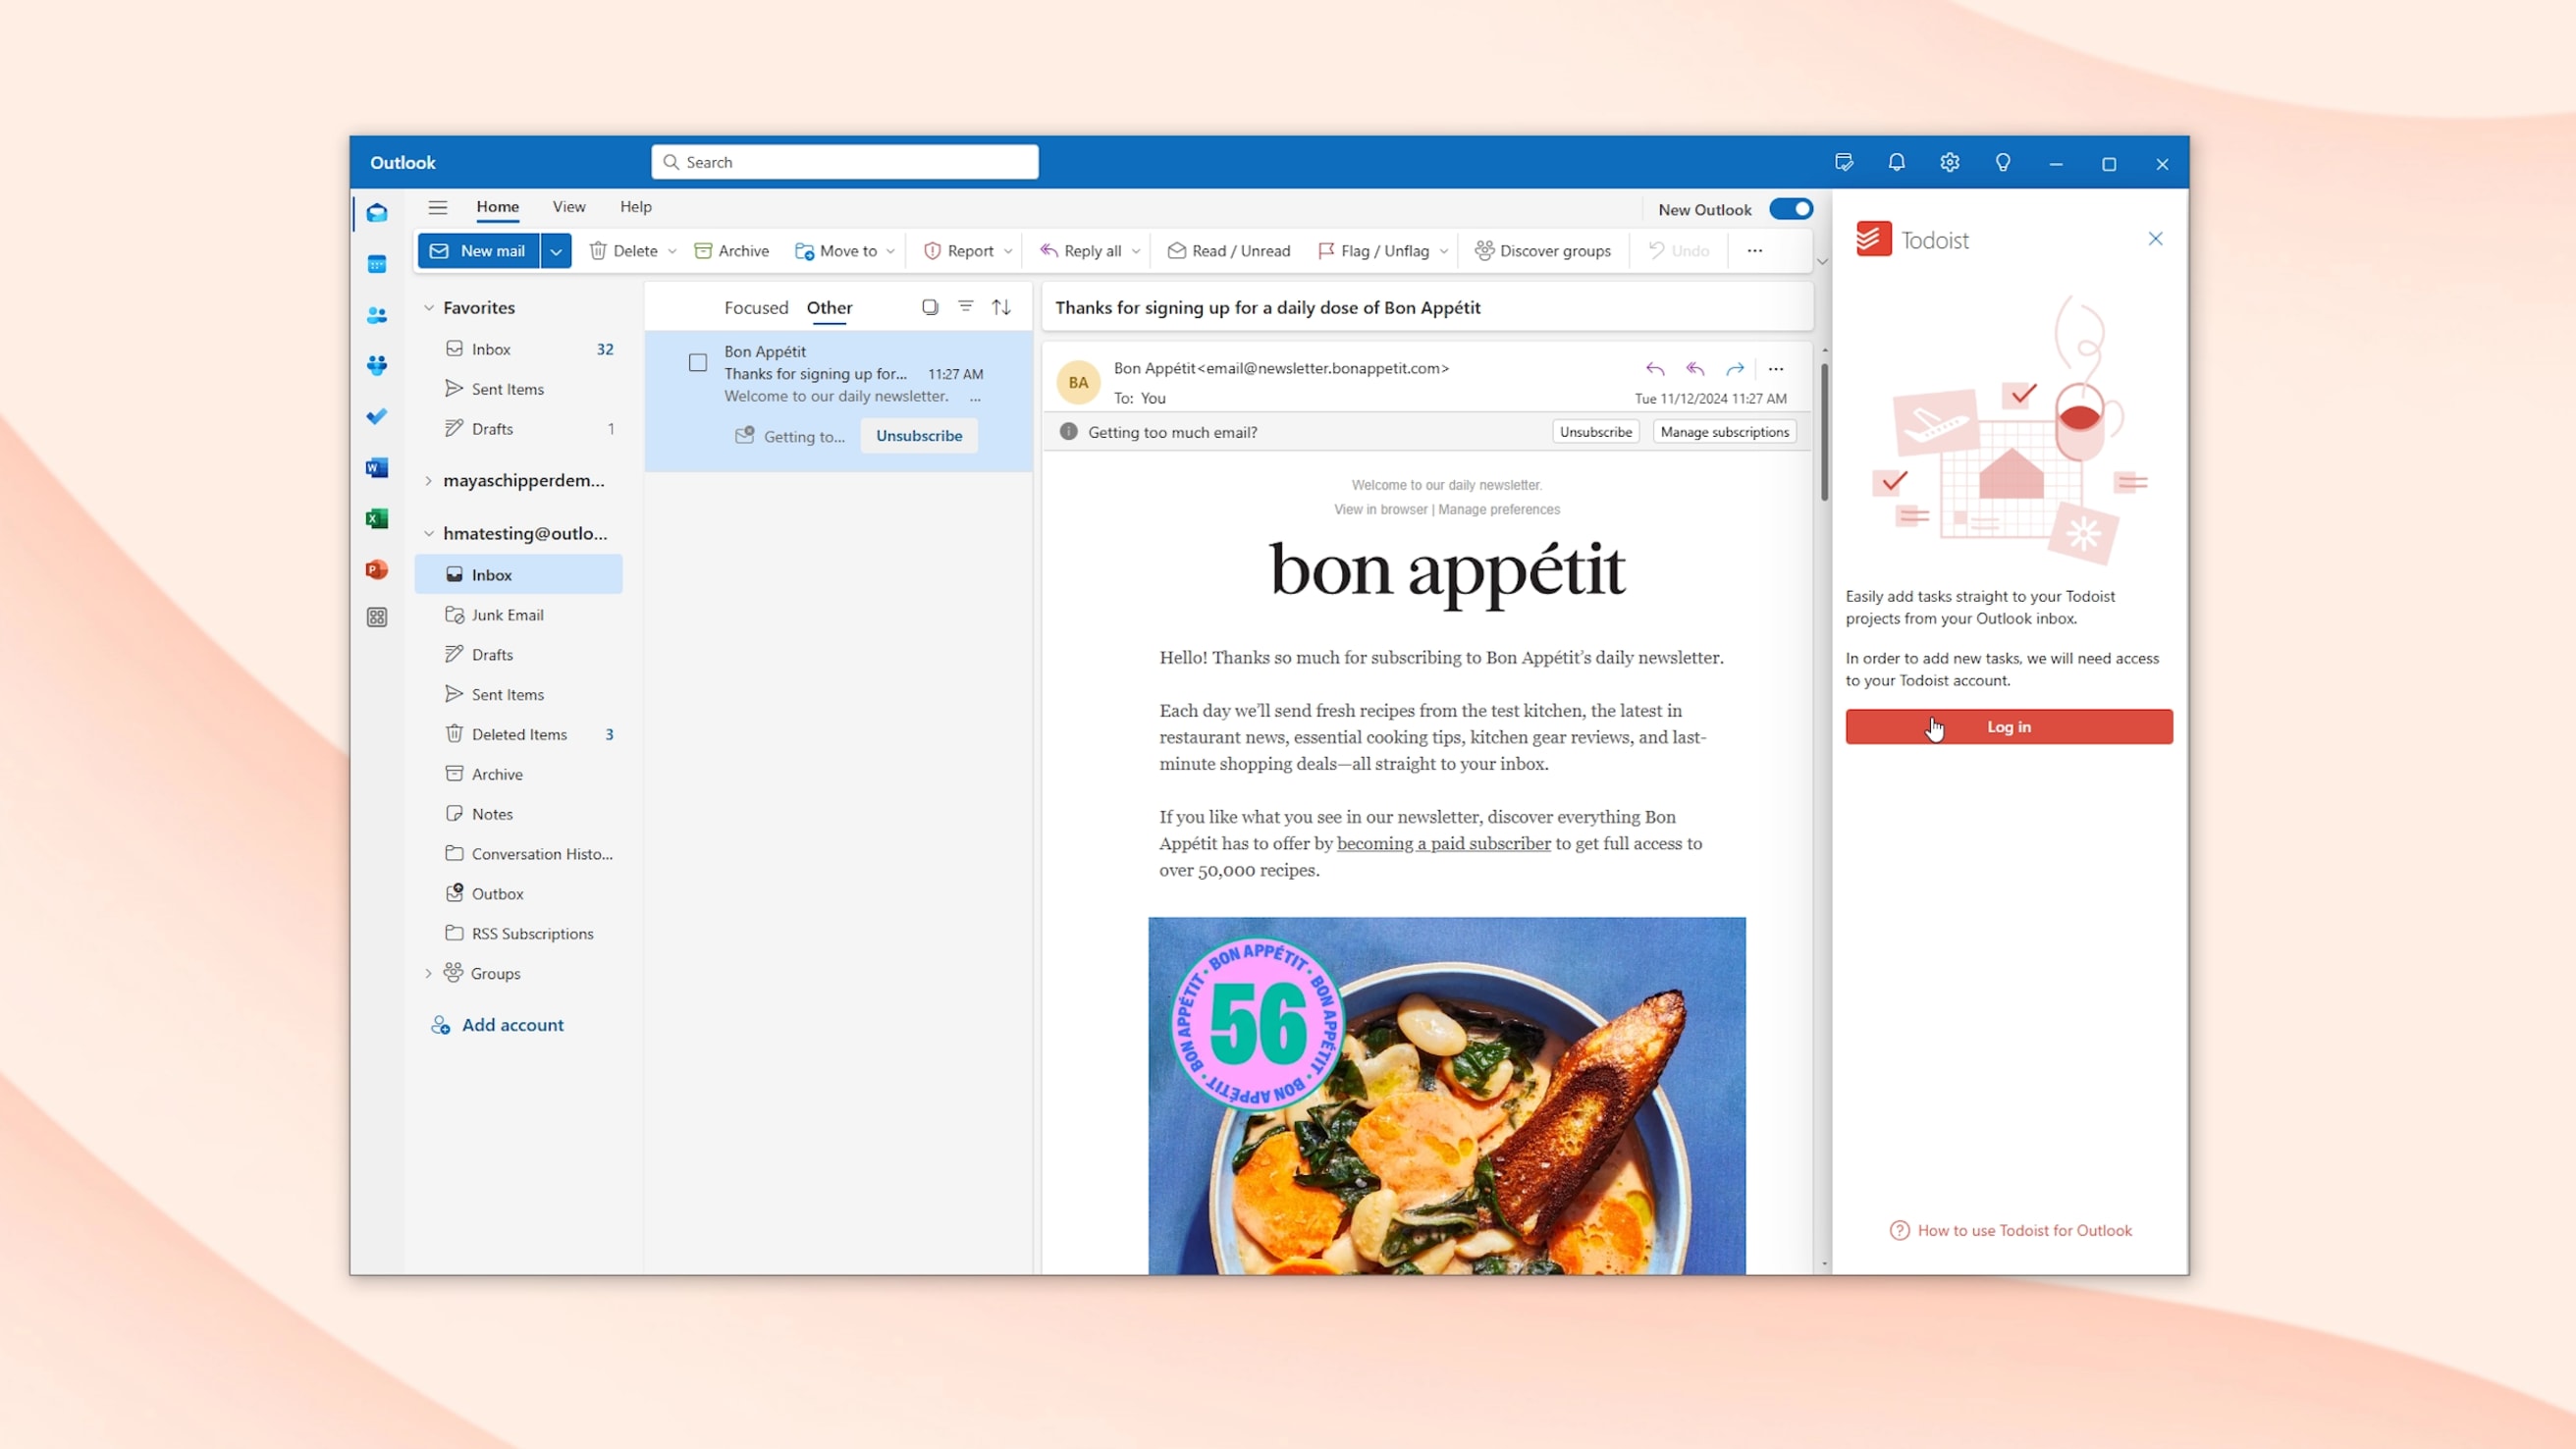
If you're asked to log in to your Todoist account, click Log in → Agree.
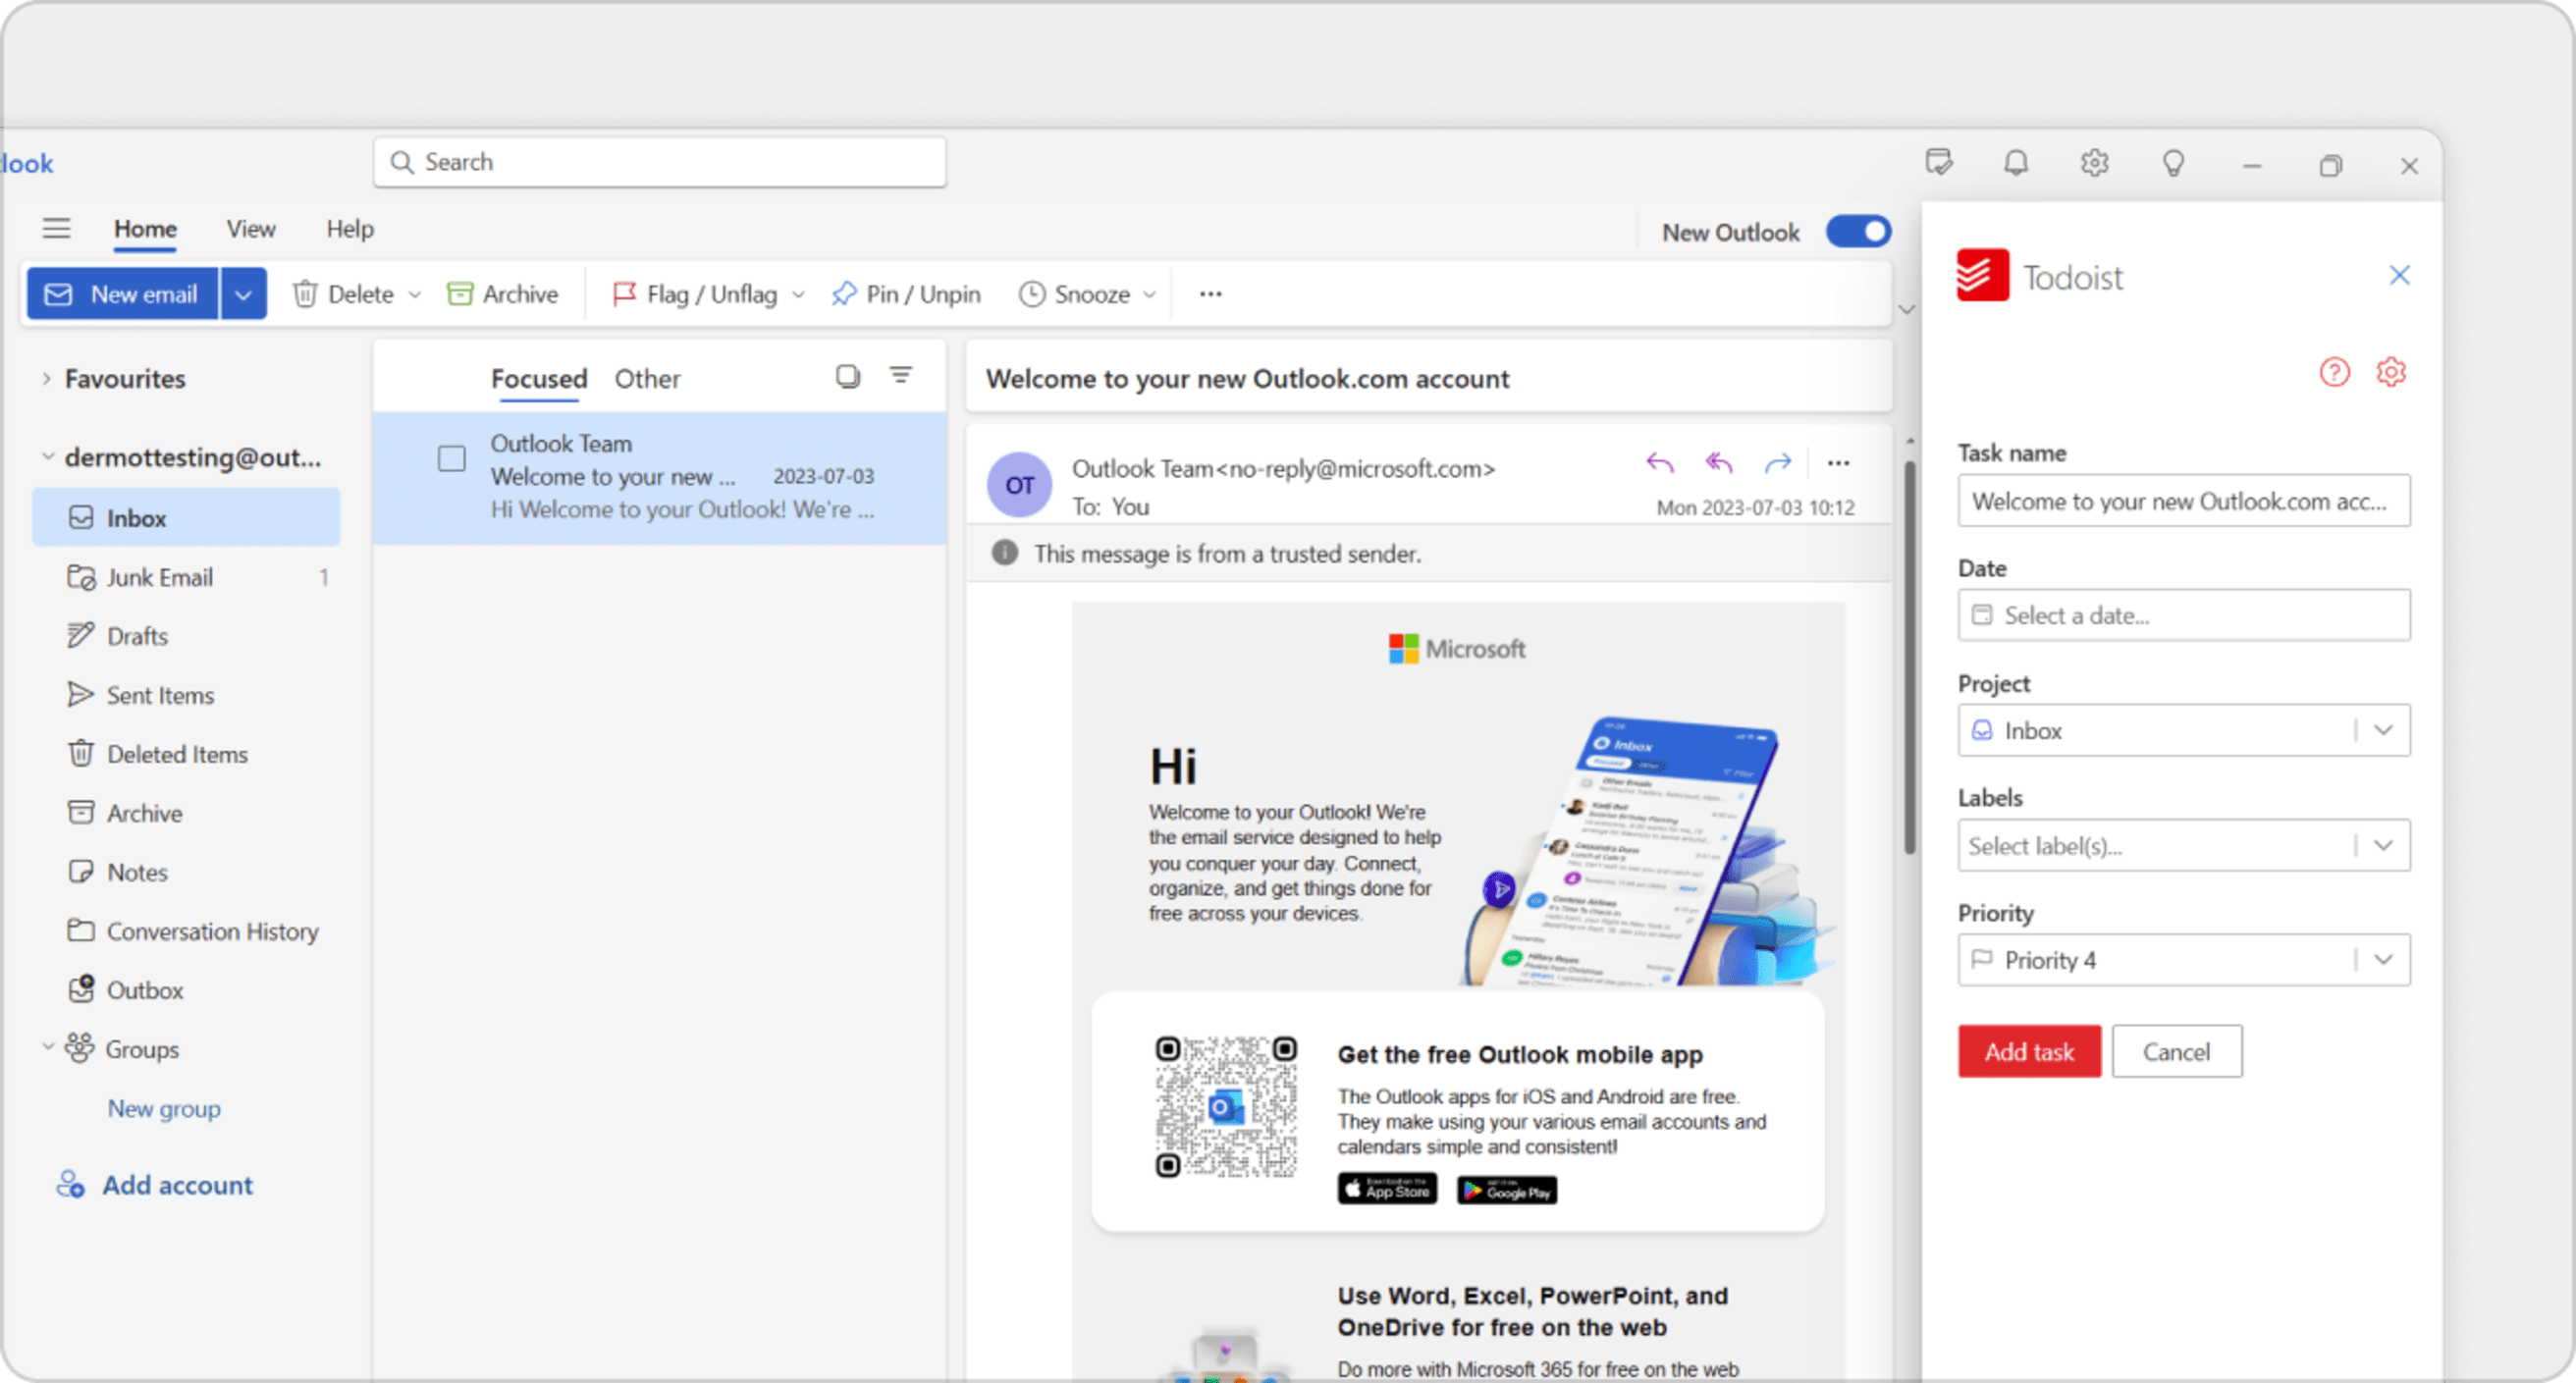
- Enter a name for your task, assign a due date and time, project, labels, and priority level. If you're a Pro or Business customer, you can add task duration.
- Click Add task. This adds the task to your chosen project.
Remove the Outlook add-in
- Open a web browser.
- Log in to your Outlook account.
- Open an email.
- Click the three dots icon at the top of the email view.
- Click Get Add-ins.
- Click My add-ins in the left-hand side.
- Click the three dots icon under the Todoist icon.
- Click Remove.
Revoke permissions to access your Microsoft account
The method for revoking permissions depends on your Microsoft account type.
- Personal account: Manage your permissions in your Microsoft account settings
- Work or school account: Manage your permissions in the My Apps portal
If you revoke permissions for the Outlook add-in, you won't be able to use the integration until you grant permission to access your information again.
Get in touch
If you’re having trouble setting up or using the Todoist for Outlook add-in, get in touch with us. We— Dermot, Sergio, Omar, and the rest of the CX team—are eager to help!